|
Angle
|   |
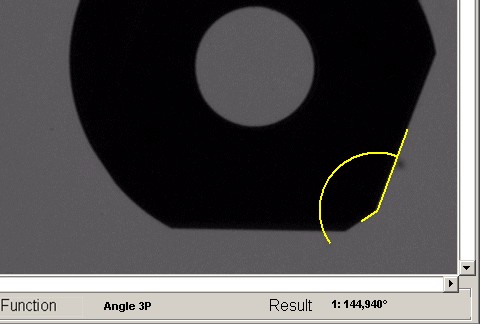
The user clicks on three points in the video image, in the following order:
first on the end point of the 1st arm then on the intersection point and finally
on the end point of the 2nd arm.
After clicking on the last point the angle is drawn and the
result appears in the status bar.
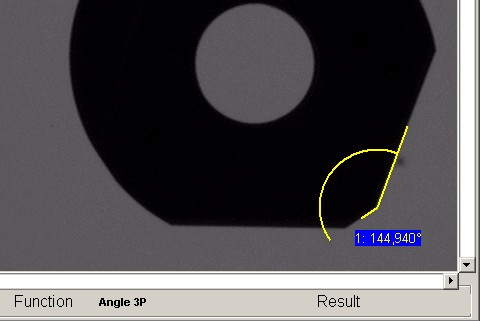
After having clicked on the right mouse button the result
appears in the image and is entered into the table.
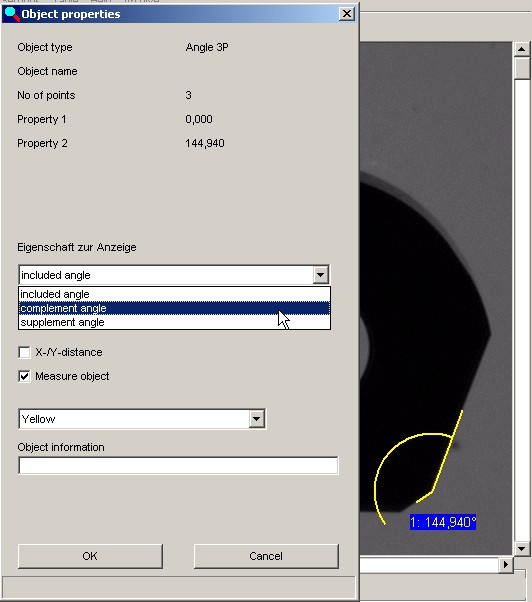
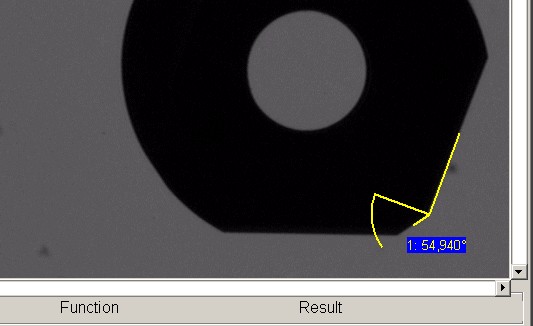
Using the object properties (click with right mouse button)
it is possible to display further angles.
This command allows to measure the angle between two non-connected
lines. The user clicks on four points in the video image, in the following order:
First two points on the left arm, afterwards two points on the right arm
The apex of the angle is at the intersection point of the imaginary extension
of the two straights, beyond the second and third points clicked on. After
clicking on thelast point the angle is drawn and the result shown in the status
bar. After having clicked on the right mouse button the result appears in the
image and is prompted into the table.
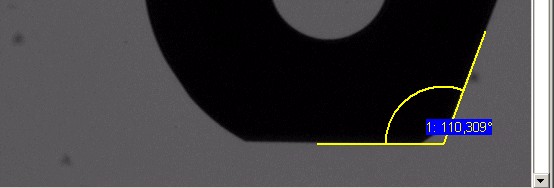
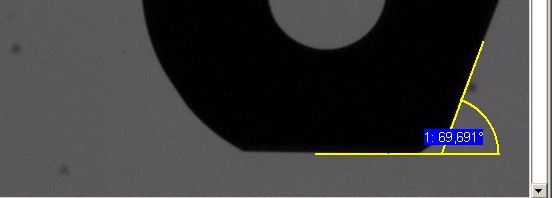
Here too one is able to display other angles using the object
properties.
In addition it is possible to ascertain for instance the point angle
of drills with two cutting edges.
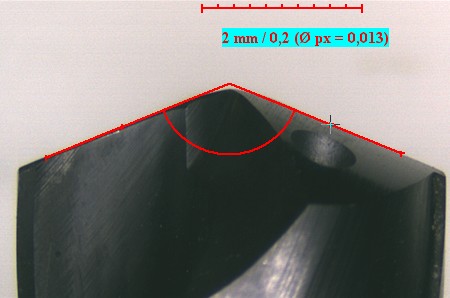
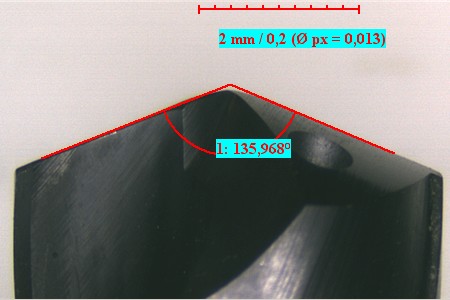
Further measurements of drills, for example clearance angle or cutting angle
in drills.
At angle measurement are existing special measurements, such as
a-dimension and z-dimension, thereby the distances are measured but
not the angles.