|
Motor connectivity
|   |
|
Motor connectivity
| |
Before checking and setting up the motor connectivity the system first has to be calibrated.
To set up the motor connectivity properly, proceed as follows:
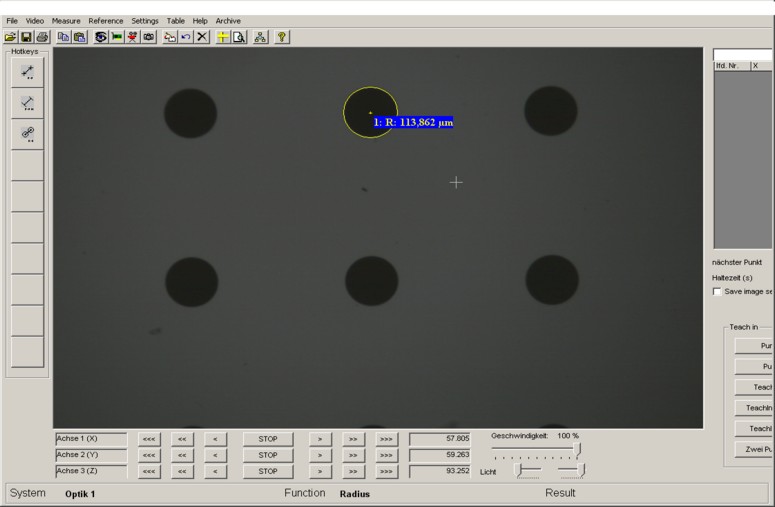
Carry out a measurement, for example of a radius, and complete this with a click of the right mouse button.
Use the joystick or the arrow buttons to move the motors a short distance in the X and Y directions. The measuring value (yellow circle) must move with the black point into the same direction. If this is not
the current case the connectivity has to be changed.
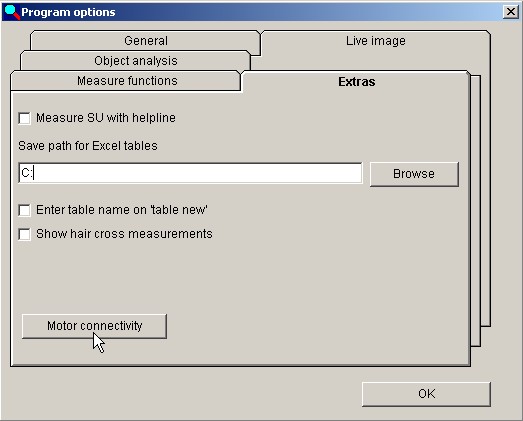
Please cklick "Settings" and select "Program options".

Please click "Motor connectivity" on the tab "Extras".
The option "Motor connectivity" appears only if a controller is connected!
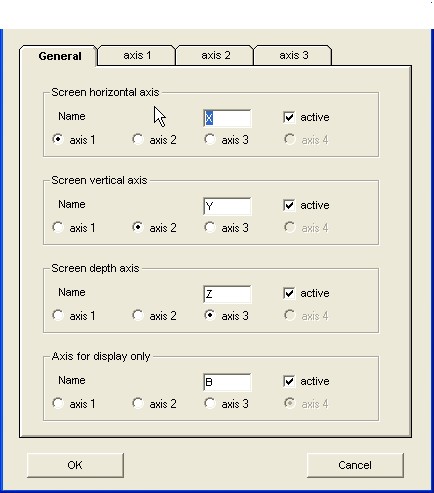
The window for the connectivity has a tab for the general settings
and one tab for each available axis.
"General" allows you
- to give the axis a name
- to set the axis as active or inactive
(inactive will only "display" the motor positions)
- to set the axis number depending to the optical system
and the movement on the monitor
On the tabs for the available axis you can invert the
direction of the moving measuring values so that the
graphic will move into the same direction like the image.
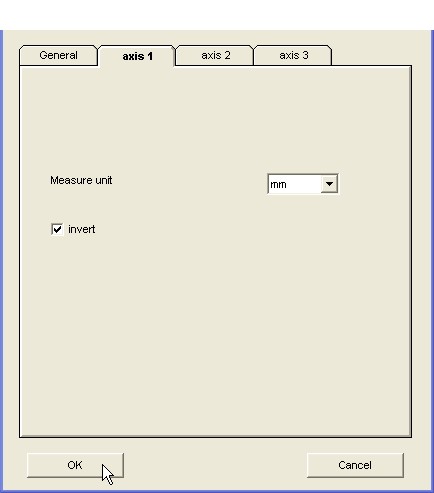
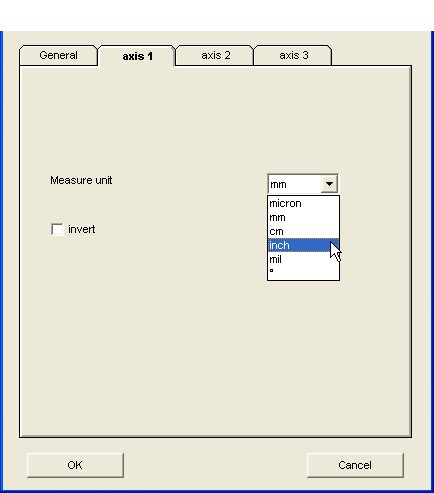
Furthermore the measure unit can be selected or changed.
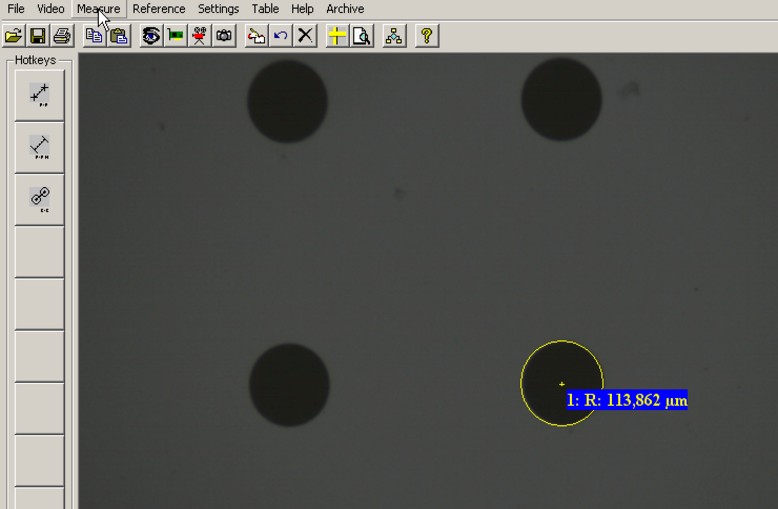
Please delete the measuring table and measure again. Then check if the
measuring value is moving into the same direction like the measuring object.
If the calibration is ok the circle has to be "fixed" to the black point if the
point is moving. In this case the settings have to be saved.